Daydream Labs: Bringing 3D models to life

Blocks is a tool that lets anyone create beautiful 3D objects in virtual reality, with no prior modeling experience required. You can use the objects or characters that you make for many applications, like VR games or augmented reality experiences. Check out the Blocks gallery for some fantastic examples of what people are creating—we’ve been blown away by the quality of what we’ve seen so far.
As we explored all these quirky creations, we imagined how great it would be if the models could come to life. Right now, even the best creations are still static, and our team at Daydream Labs took that as a challenge. So, during a one-week hackathon, we prototyped ways to make Blocks scenes feel dynamic and alive. Here’s what we came up with:
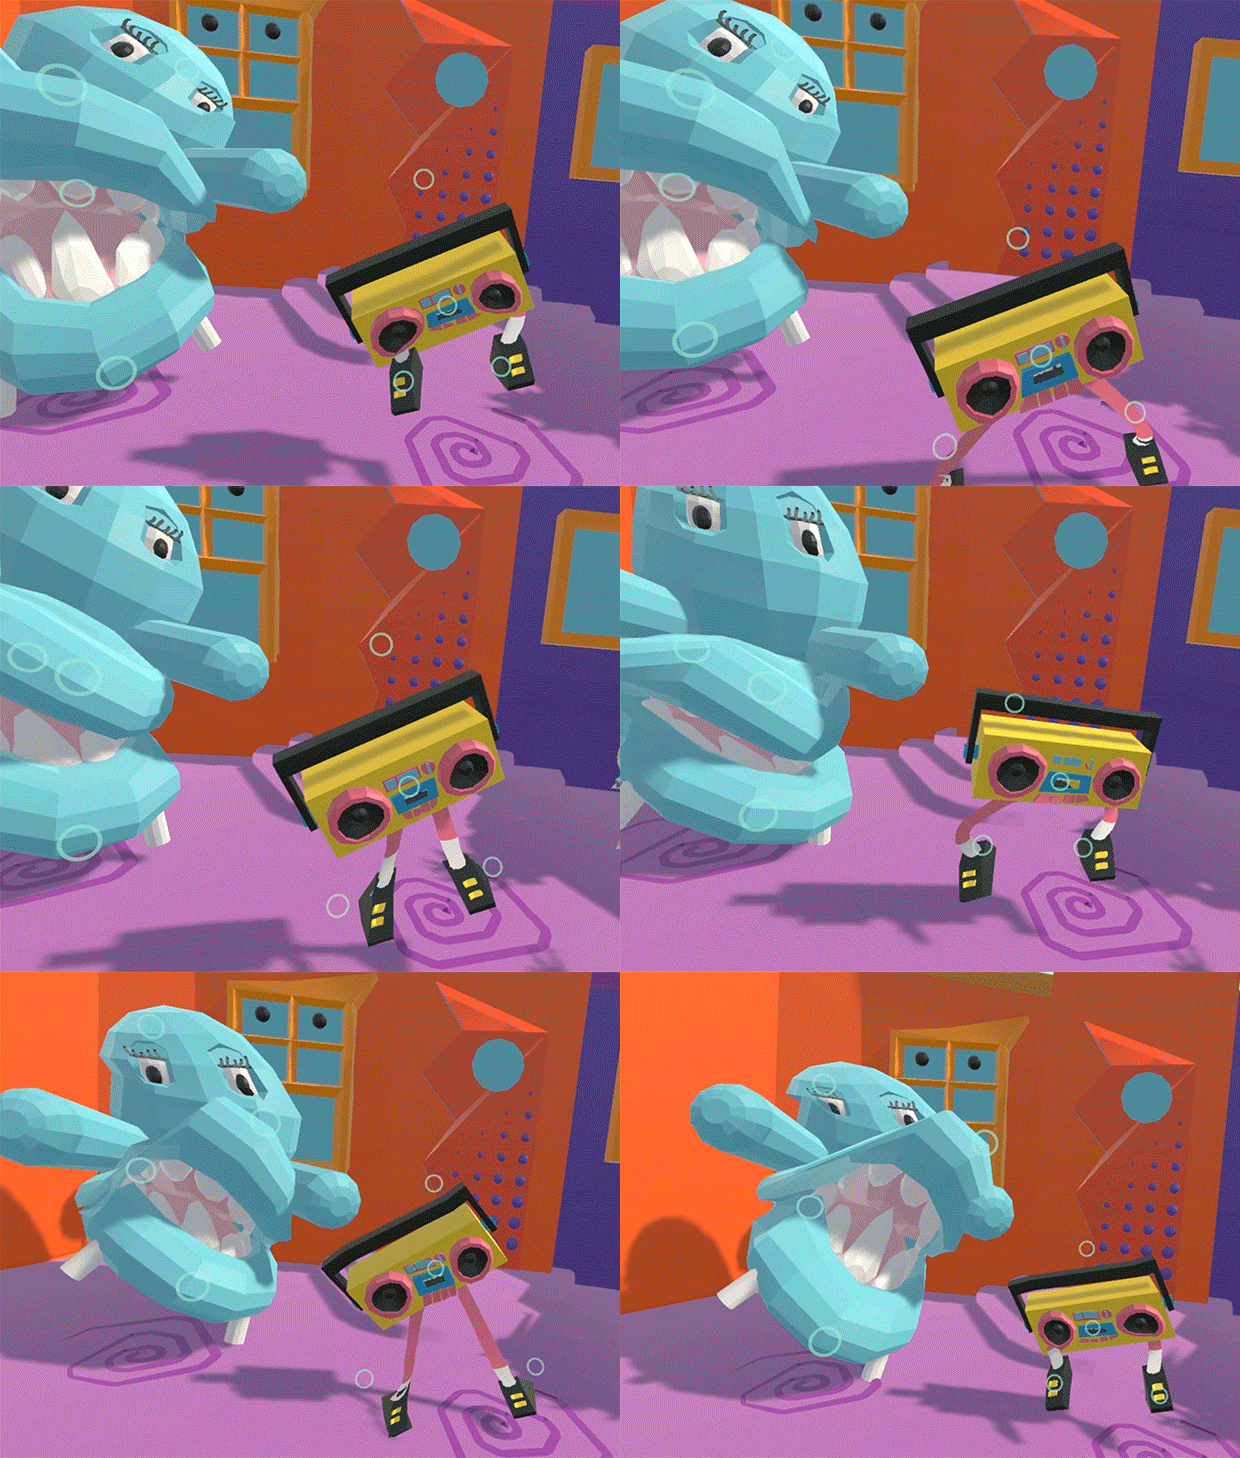
Animating 3D models for use in virtual reality or augmented reality is a three-step process. First, you need to set up the model so it can moved. Then, you have to figure out how to control it. Last, you need a way to record the movements.
Step One: Preparing the Model
Before animating a character in Blocks, some prep work is required to get it ready. We explored two methods of doing this: inverse kinematics and shape matching.
Inverse kinematics is a common technique for animating characters in video games, and it’s even used in other fields like robotics. At a super high-level, the character automatically positions its body based on where you want the hands and feet to go. So if you raise the character’s hand over its head, the elbow and joints will be realistically positioned thanks to some nifty calculations done by inverse kinematics. Instead of posing every part of the character, you just move a hand or a foot, and the rest of the character’s body position adapts.
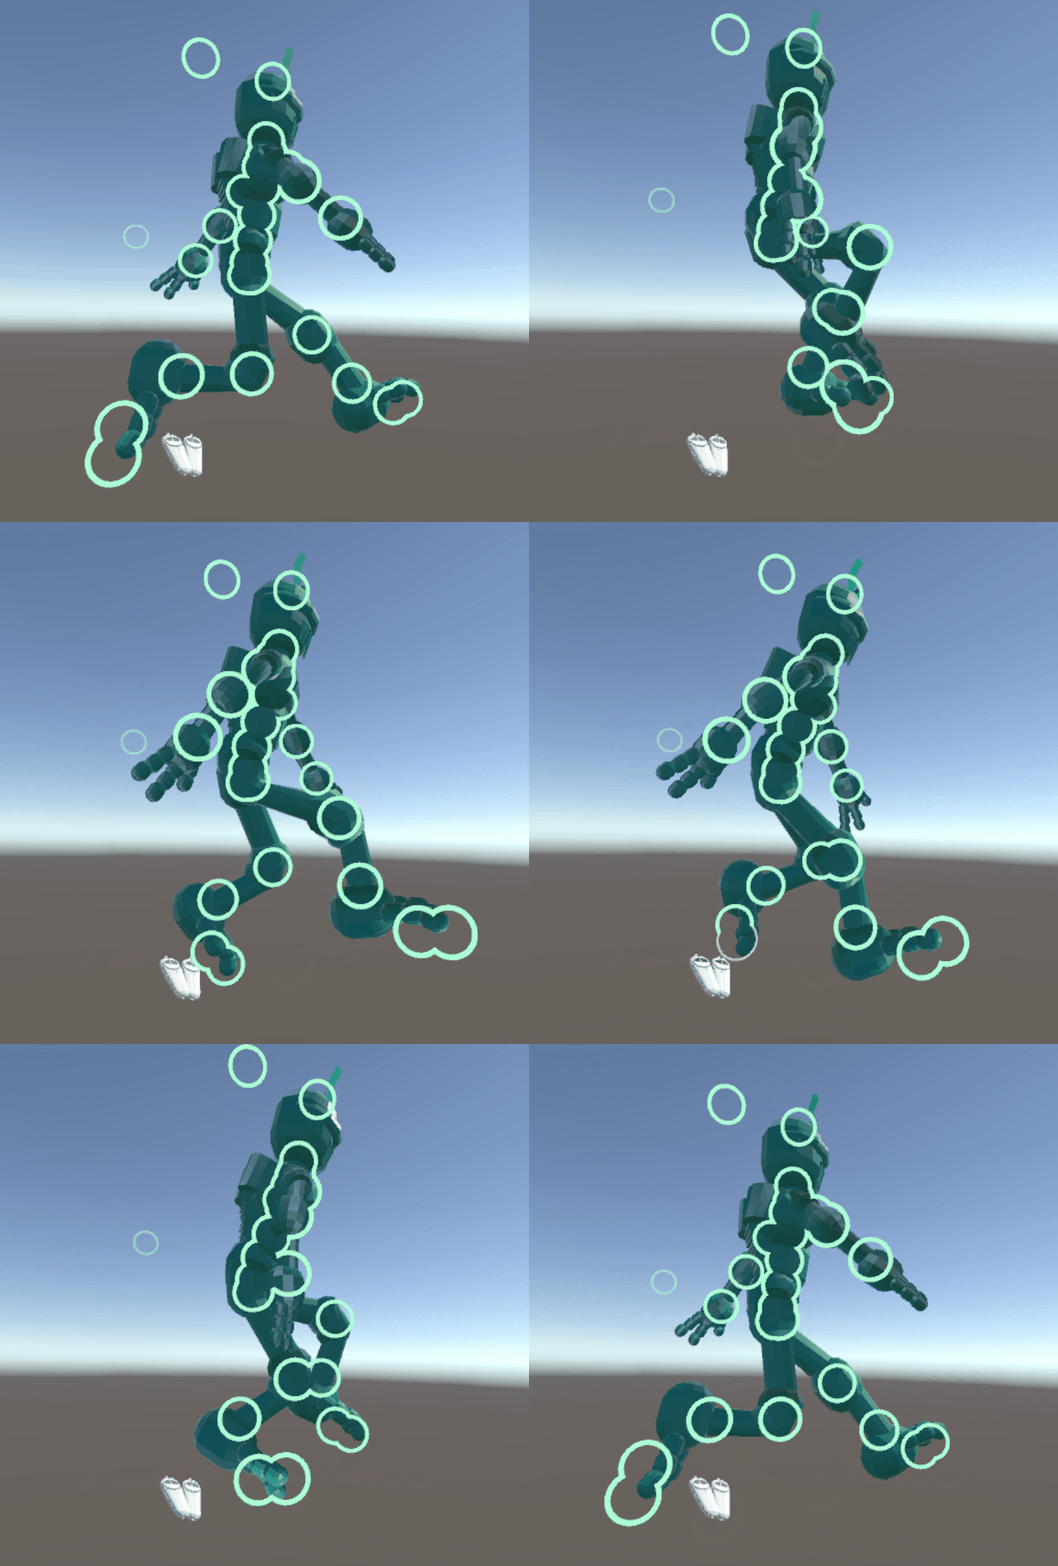
This makes inverse kinematics great for characters with rigid “skeletons,” such as humans, animals and robots—but shape matching is a new technique for characters with less well-defined physiques, such as a sentient blob or a muppet. Shake a character’s foot, and its leg wiggles around like rubber. The jiggly quality of the movement adds character and playfulness to things like a chair or a boombox with legs. Best of all, it works with objects of any shape.
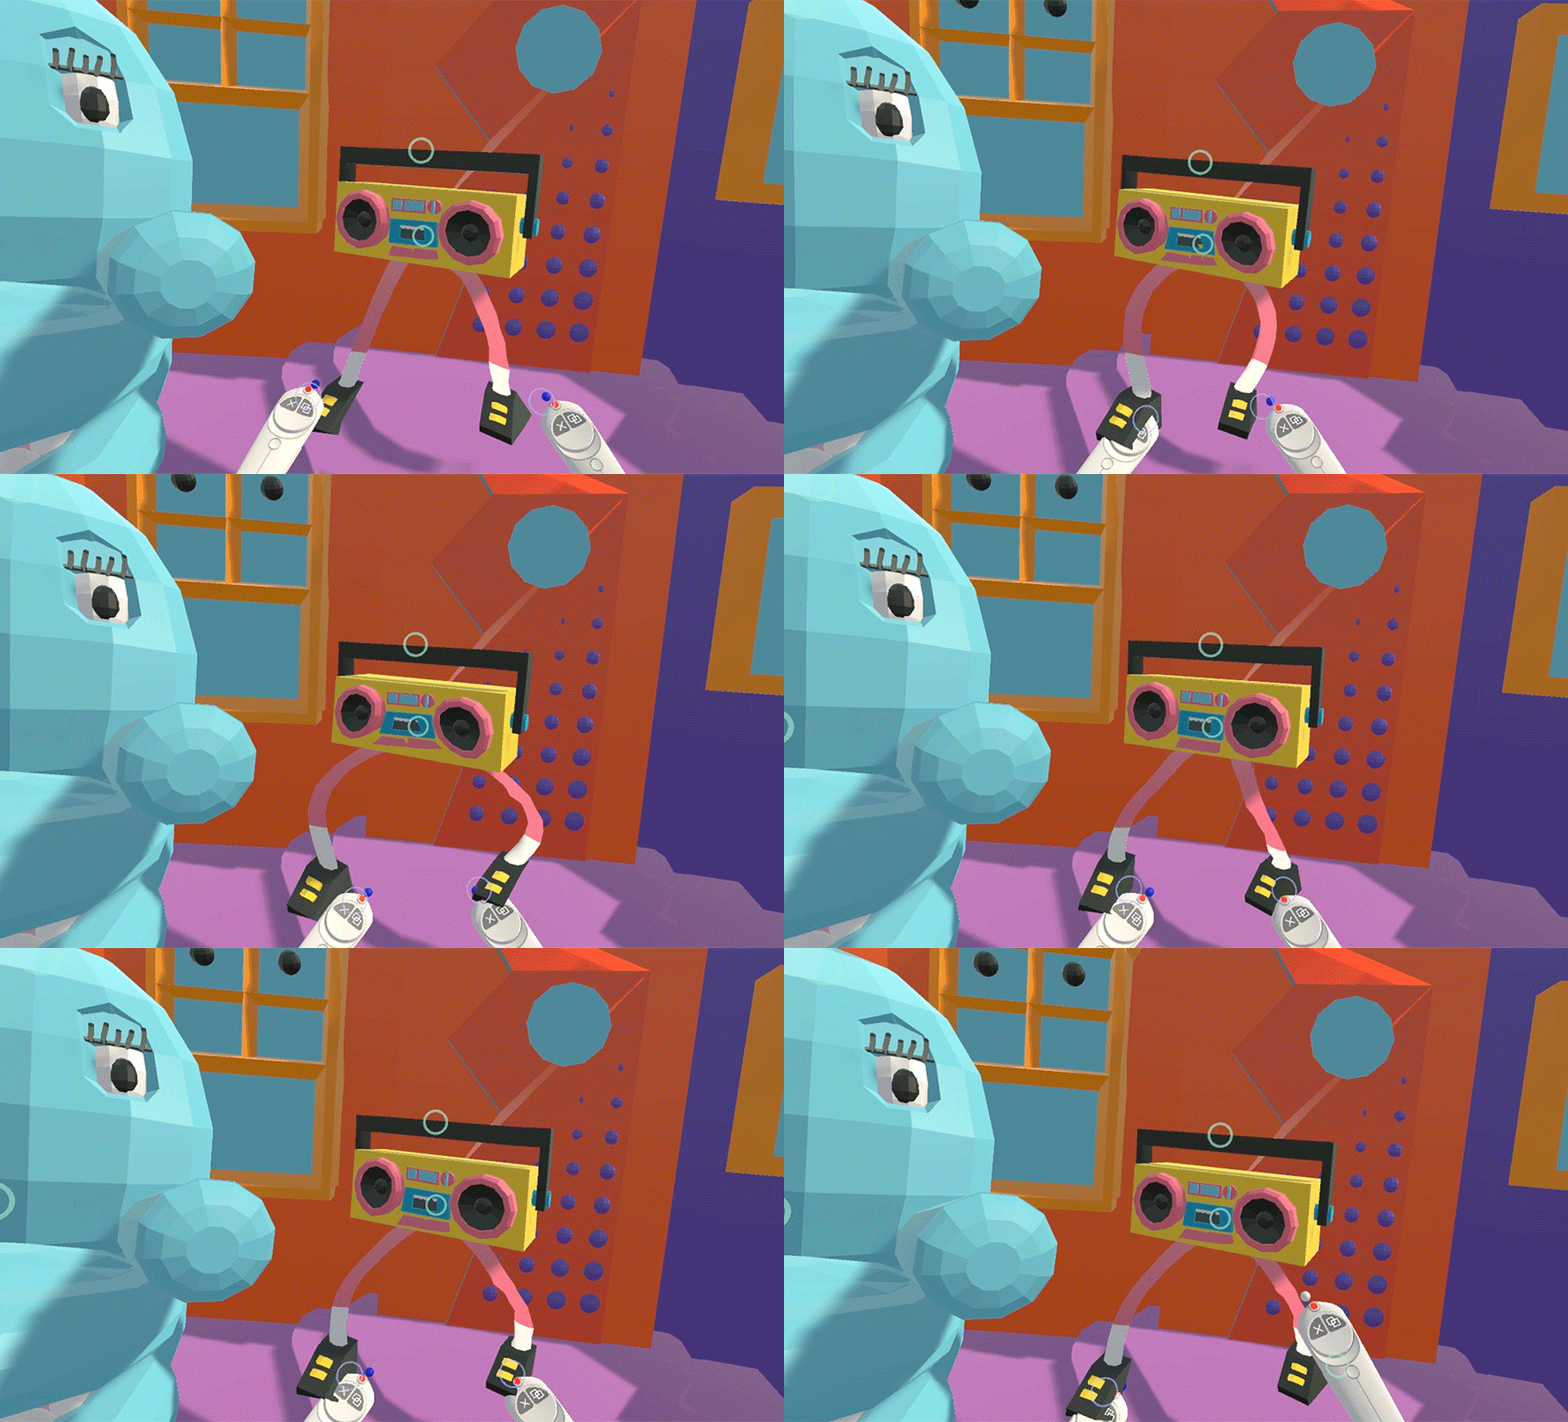
You can check out the specific shape-matching algorithm we used here. Our current prototype requires you to spend a minute setting up an object for shape matching, but the process could eventually be automated. Then, you’d be able to get a creation wiggling without any additional work.
Step Two: Controlling the Model
Once the model is prepped and ready to go, VR helps you move it using three techniques: direct control, grab points and posing.
You can directly control a character by connecting its hands and head to the user's headset and controllers. This is similar to the performance technique used by other VR creativity apps such as Mindshow.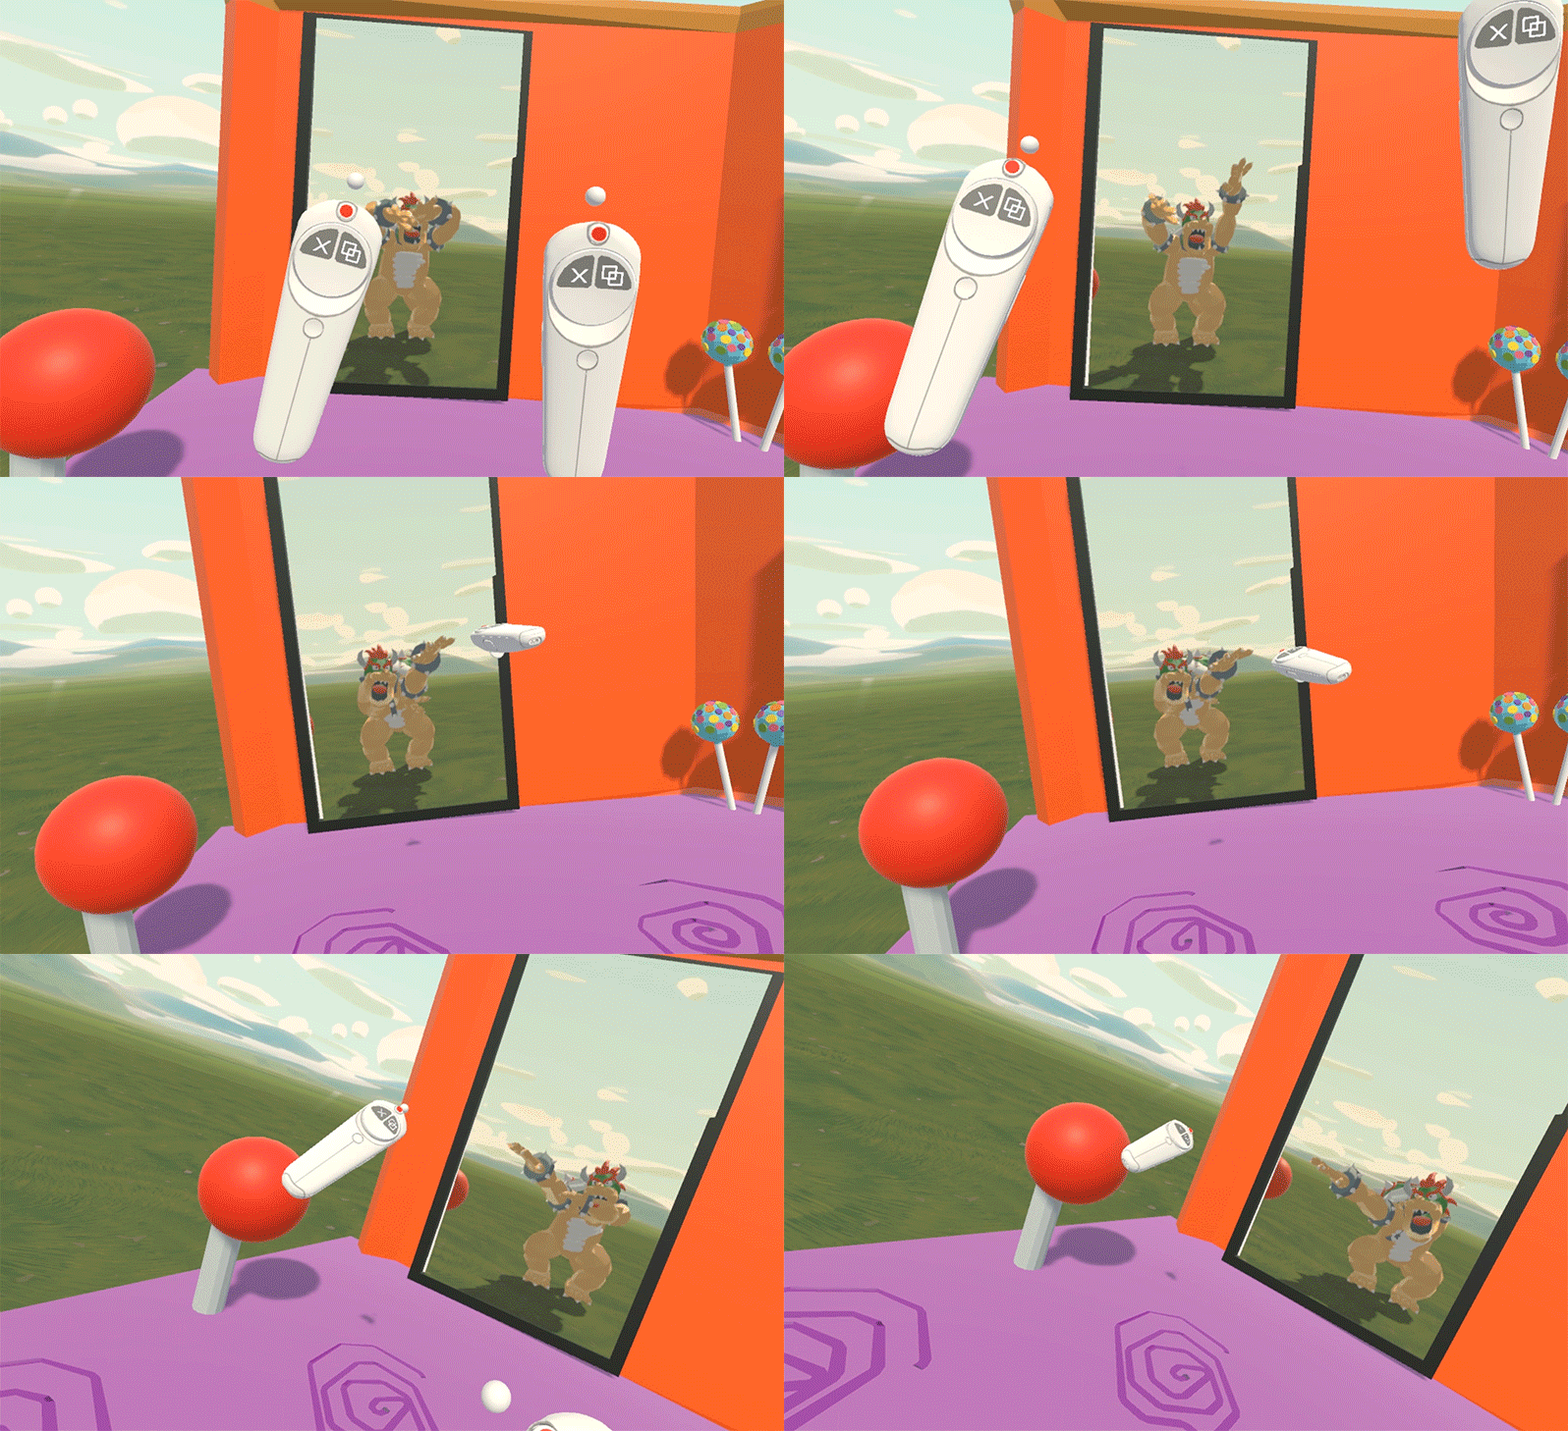
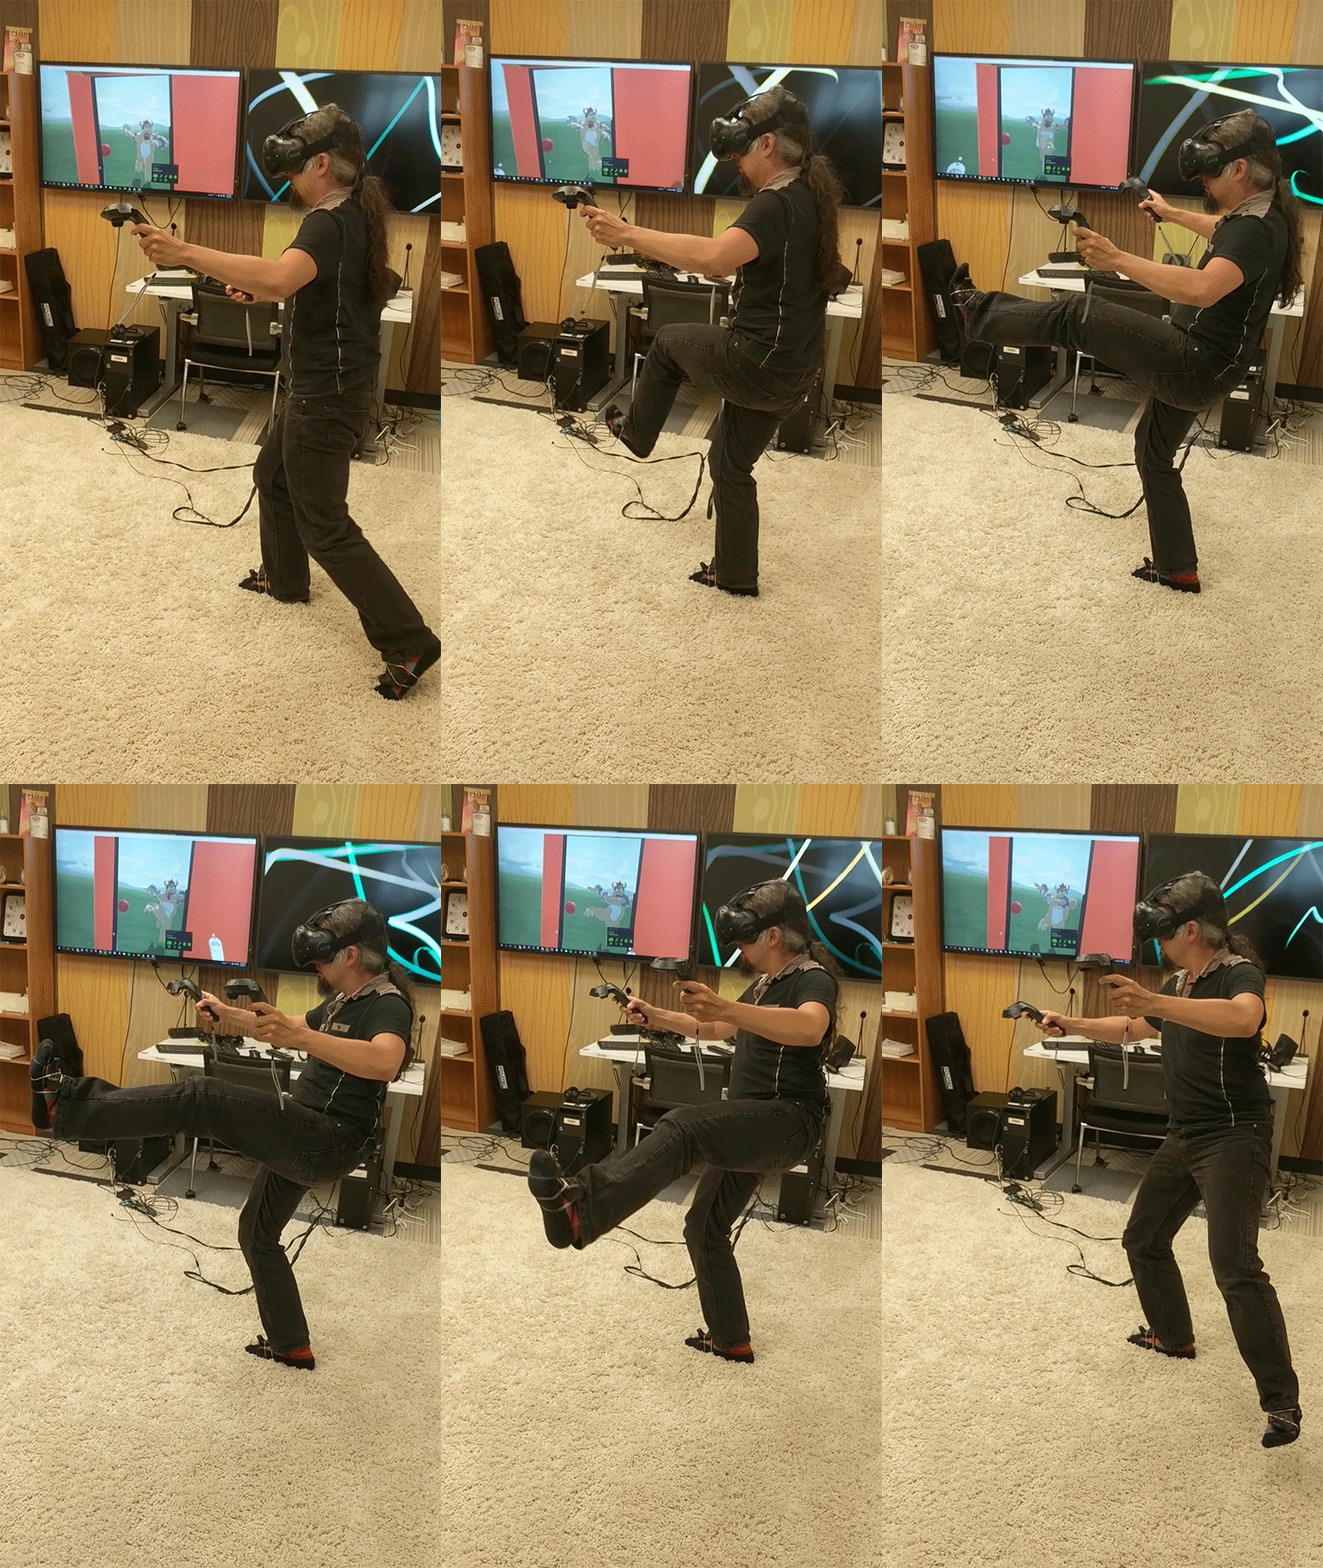
You can also place Vive trackers on your feet to control the character’s legs. Look at that move!
Alternatively, you can control the model by grabbing specific points and manipulating them, sort of like how you’d make a teddy bear wave by grabbing its arm and moving it. Here, someone is flapping Chairy’s gums.
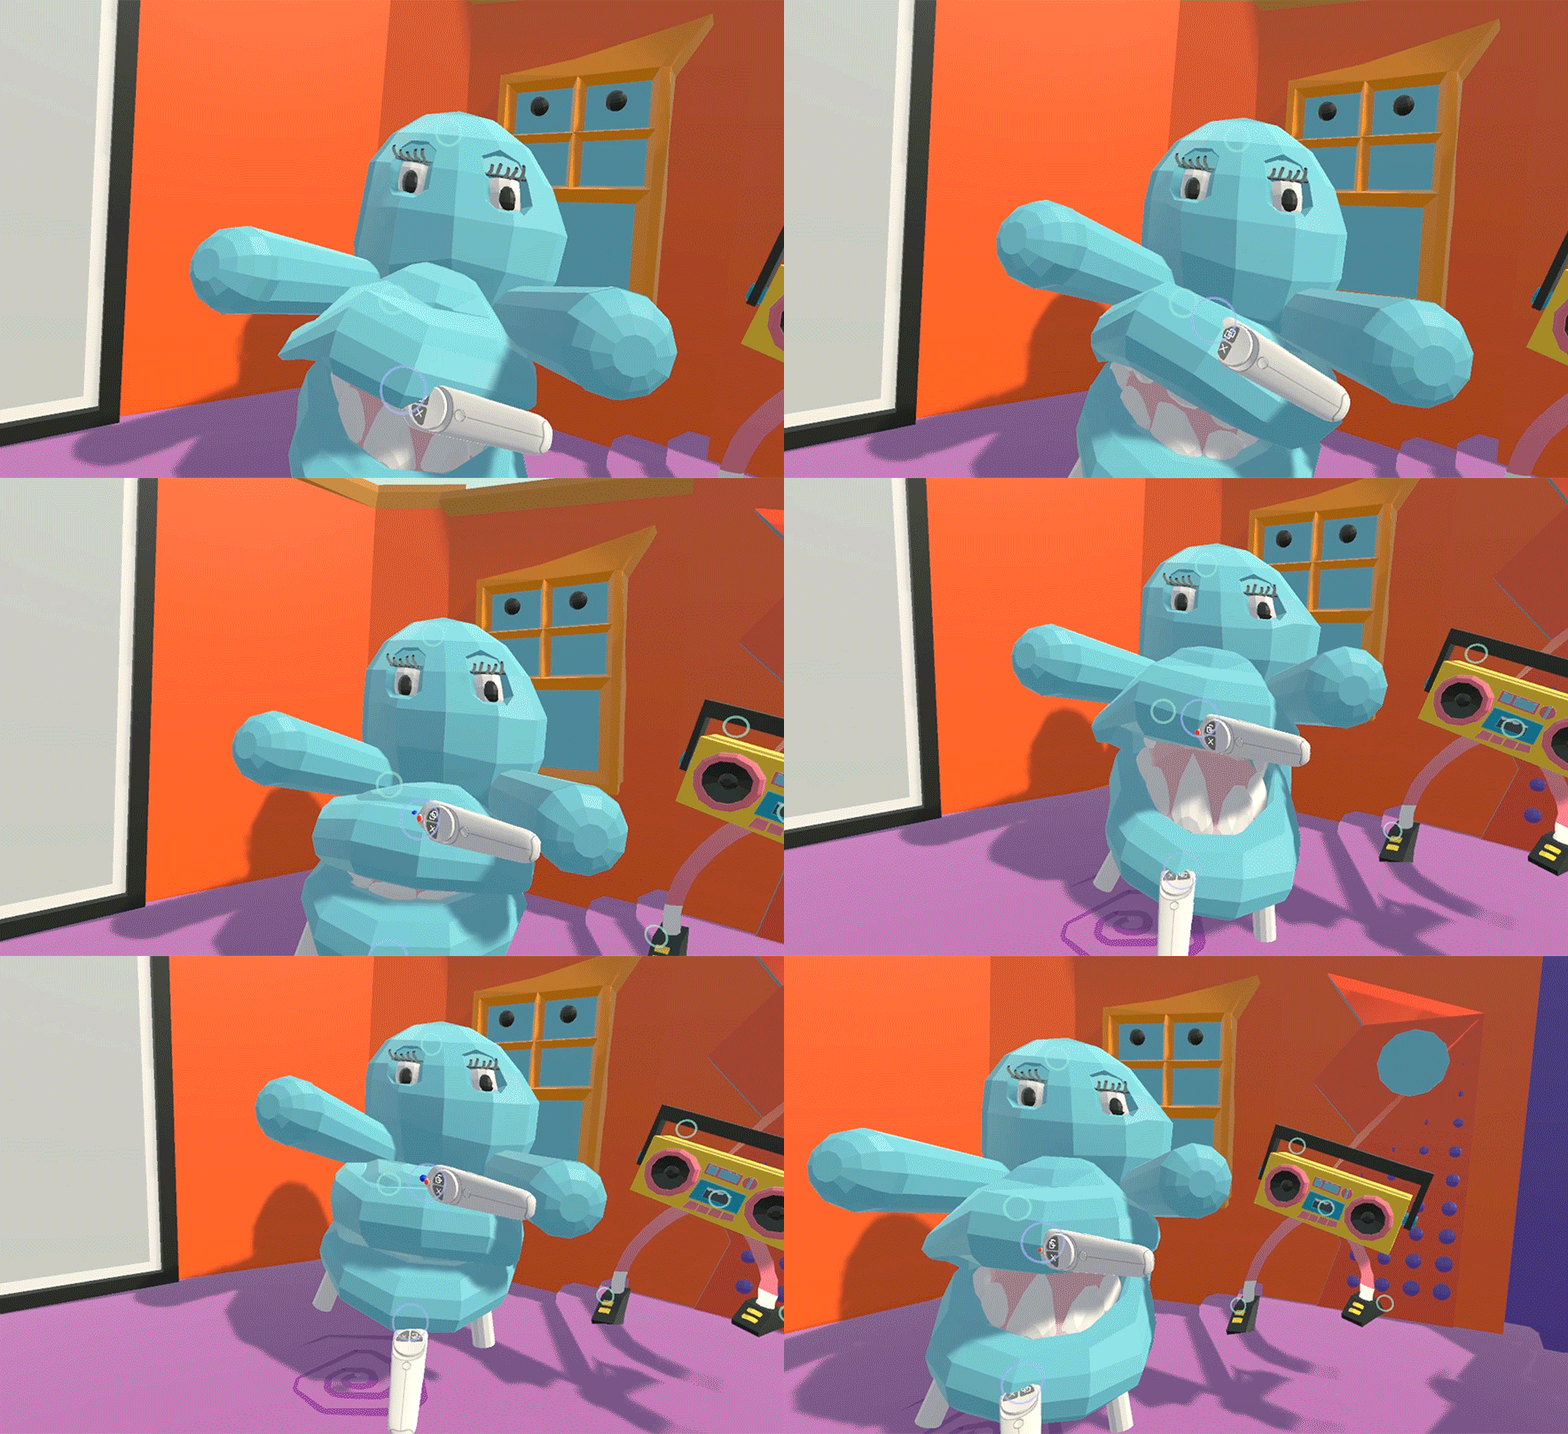
In testing, this even worked with multiple players—you and a friend could wiggle characters in a shared environment. It was neat to be moving a character together, almost like playing with toys.
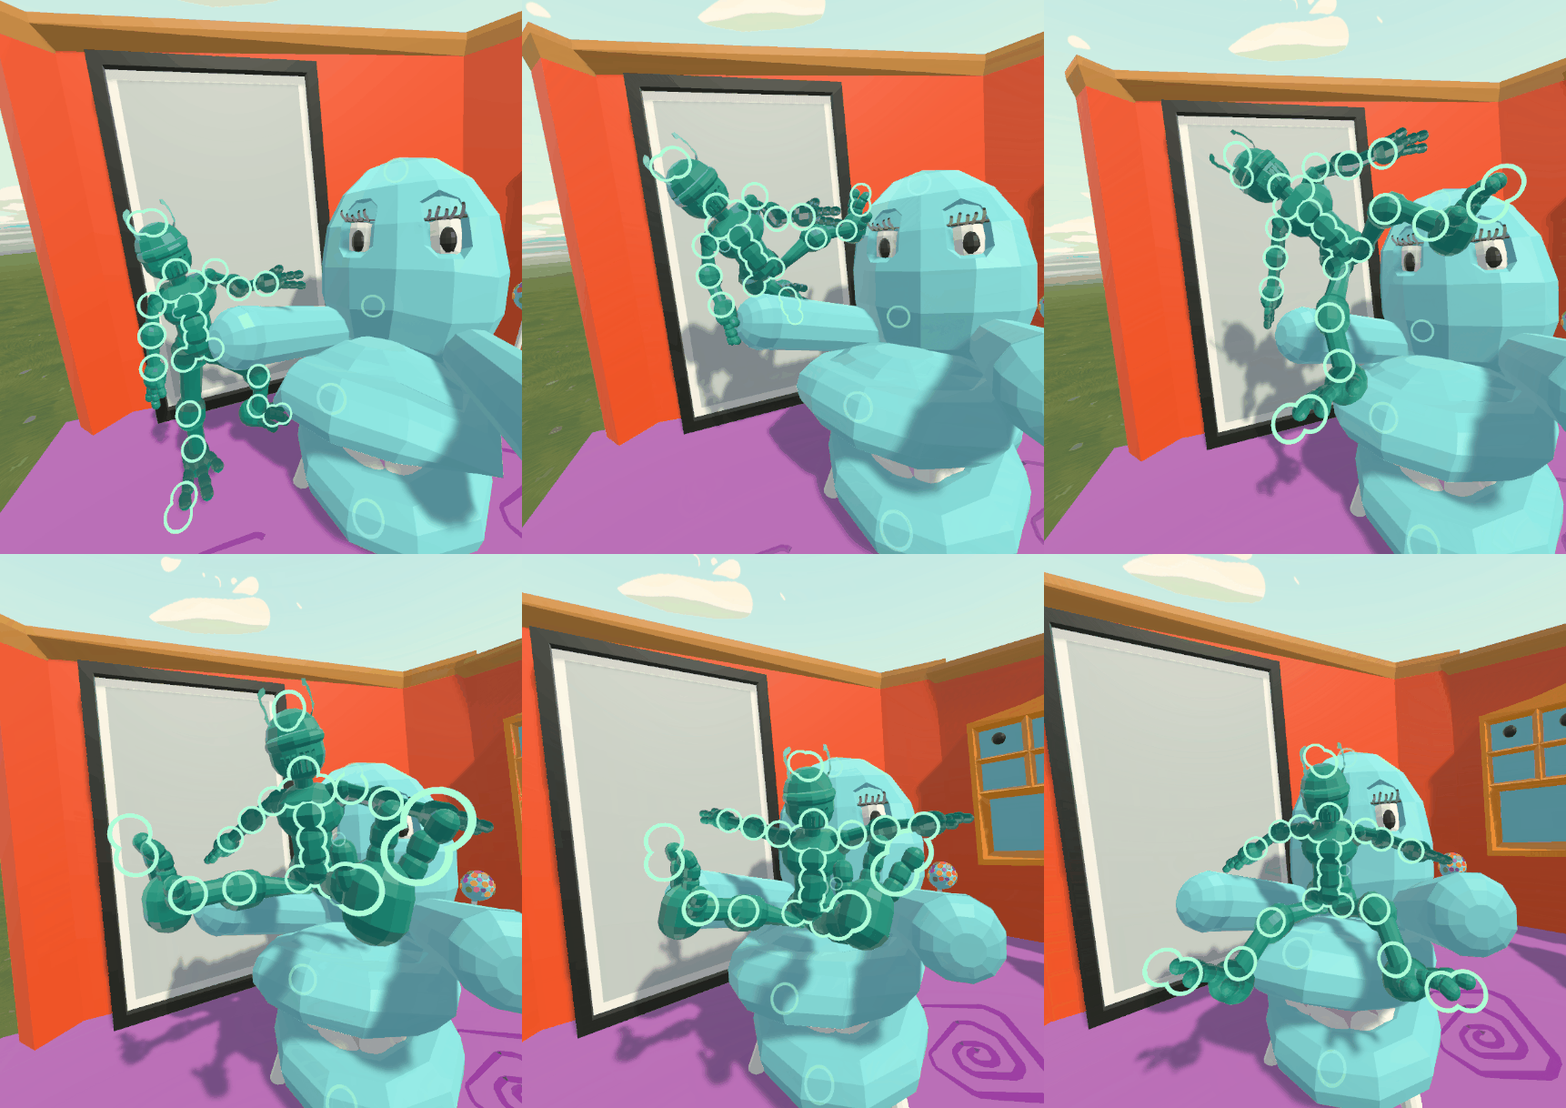
For humanoids, you can directly pose the character’s skeleton, similar to posing an action figure or art mannequin. In VR, spatial awareness and control allows armatures to be posed much more intuitively than in traditional apps. This is great when precise control of all parts of a 3D model is important, such as setting poses for keyframed animation.
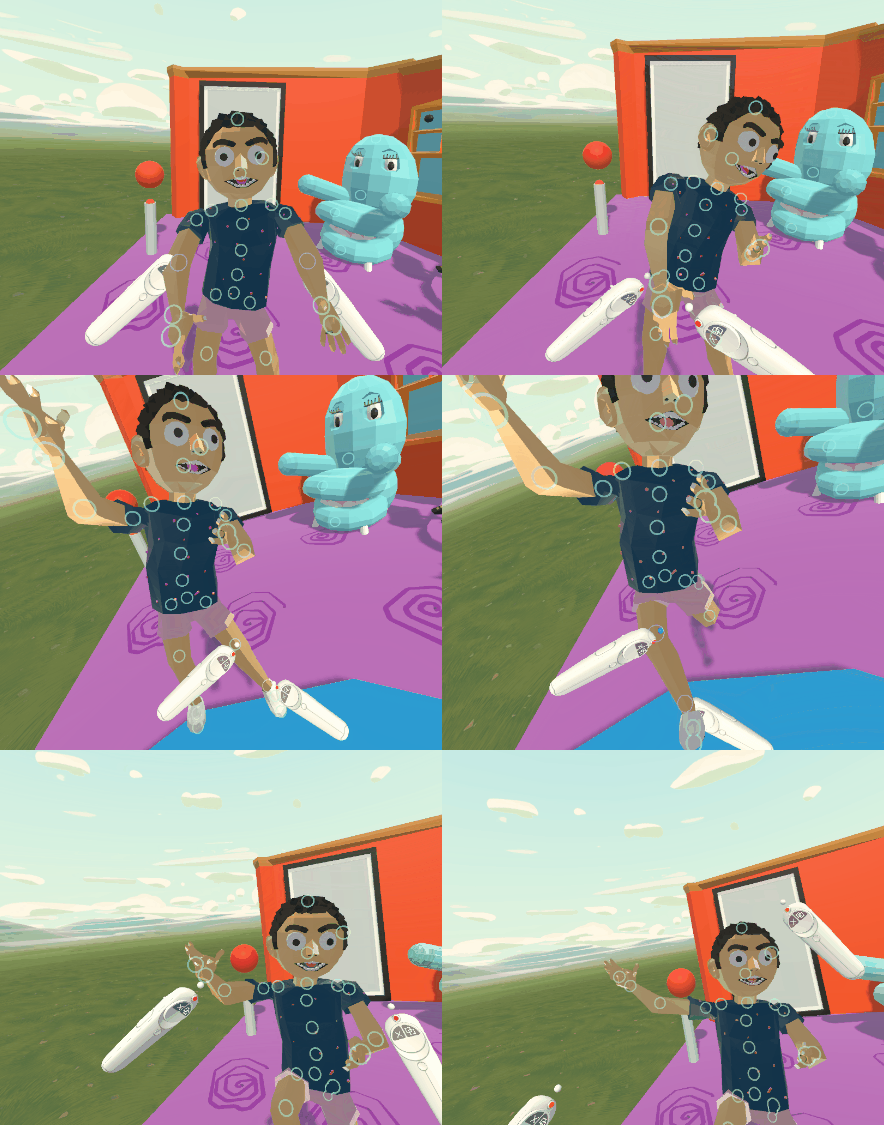
Each of these control schemes have their strengths. People loved “becoming” the object when in direct control—many would role-play as the character when using this interface. When more precision is required, inverse kinematic posing is a good option that's more intuitive in VR than a traditional desktop environment. We found the rubbery shape-matching effect to be particularly interesting. The stretch and jiggle makes this technique less precise than posing a skeleton, but definitely more playful.
Step Three: Recording Motion
Lastly, we experimented with two techniques to record and play back the movements: pose-to-pose and live-looping.
Pose-to-pose animation is similar to current 3D animation techniques and works for complex movements like jumping into a chair. You set a pose, take a “snapshot” (or keyframe), and then repeat the process to create a sequence of poses. When you play this, the character moves between those poses. VR makes the process more intuitive, allowing people to create expressive animations without needing to learn complex animation software.
For simpler animations, live looping lets you record an object’s movements in real-time and then play them back as a repeating loop. Press the record button, move, press the button again, and you’re done—the animation starts looping. We got these two characters dancing in under a minute.
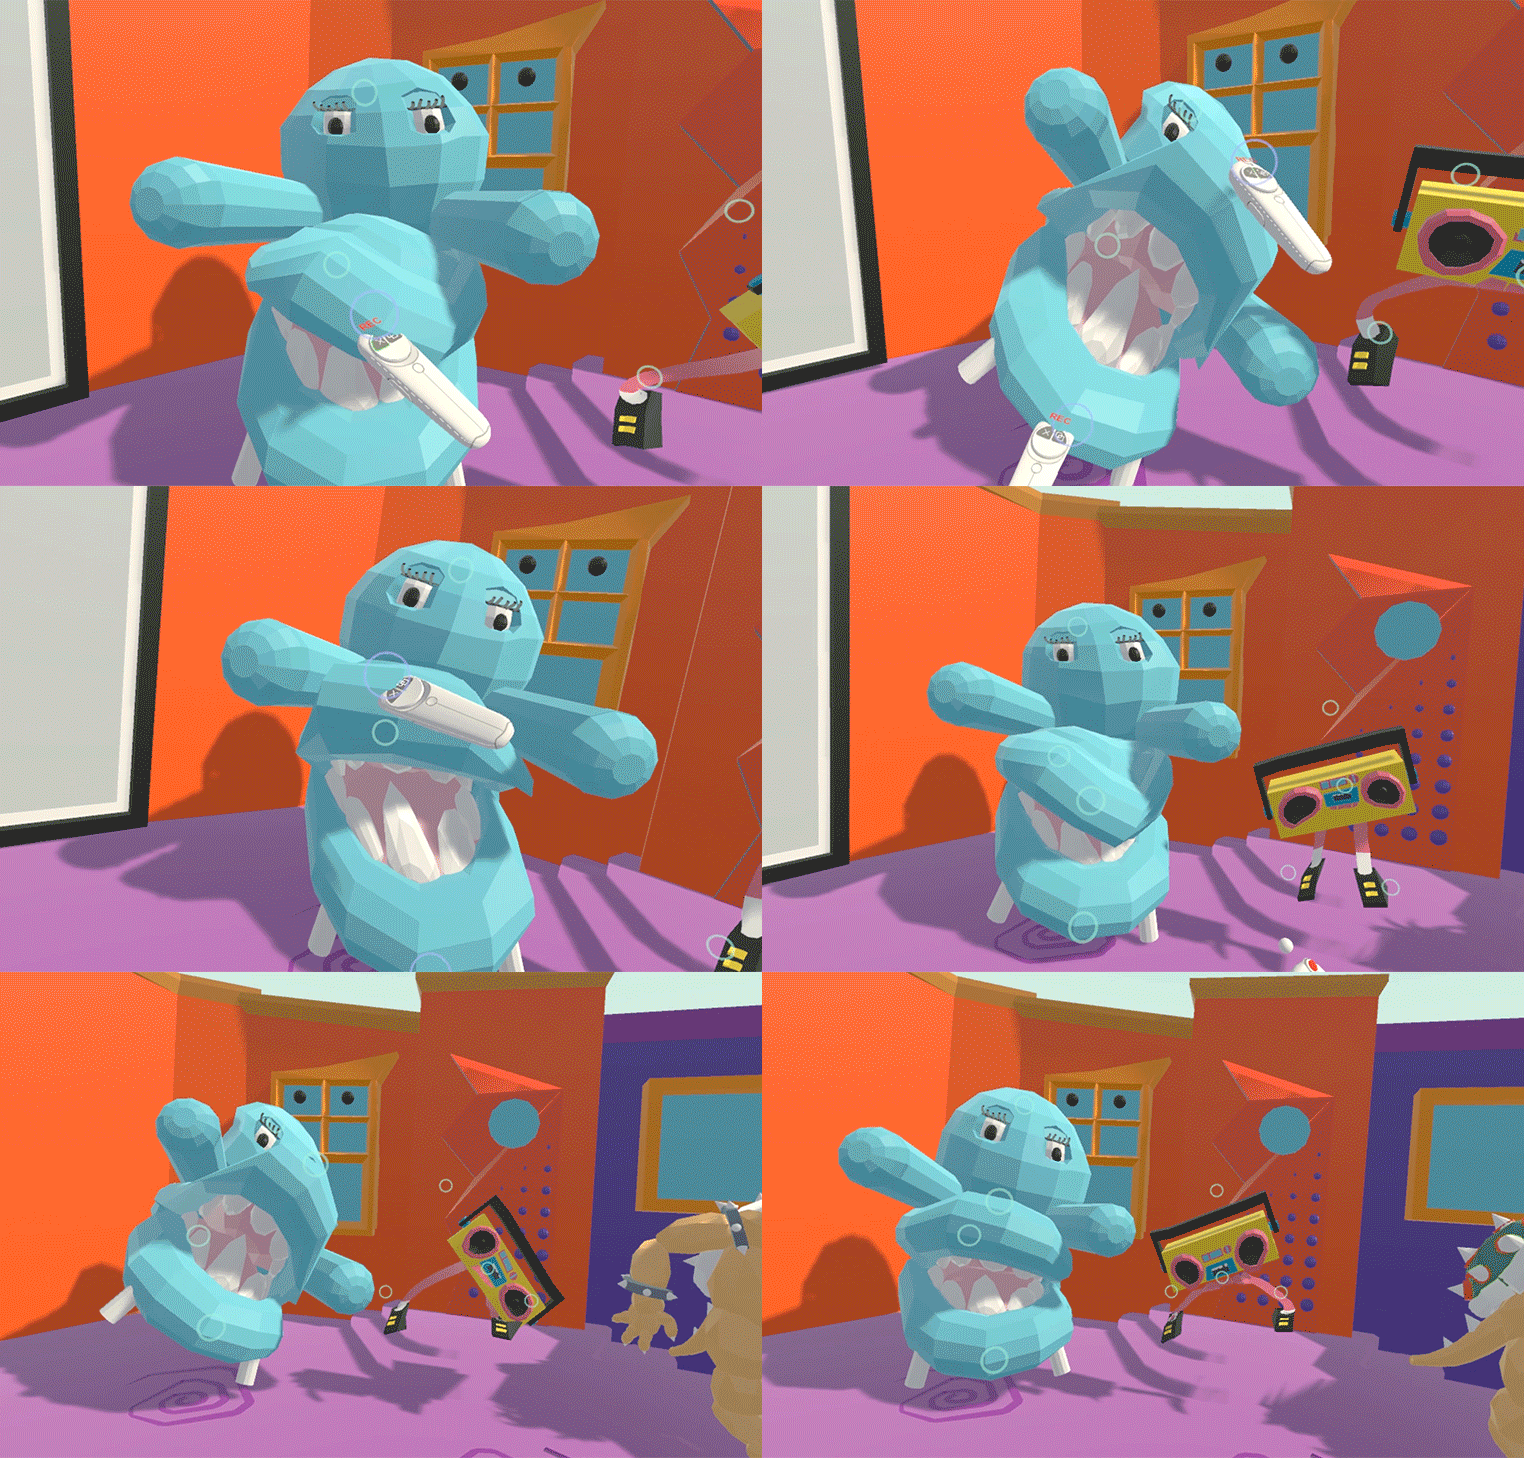
Live looping is easy and great for quickly creating rough animation, whereas pose-to-pose is better for more precise or complex movements.
Mapping your movements to any Blocks creation is magical, and as this prototype demonstrates, technically feasible. A person with no animation experience can easily breathe life into one of their 3D models. The only limit is imagination.
